一、github pages
github pages可以托管静态网站,免空间费,免流量费,值得你拥有。
- 注册github账号;
- 注册完成后,右上角->your profile 可以看到自己注册的github的名字(你的github名称),这个很重要后面中创建blog的repository的时候要用到这个名字
https://github.com/#{your github name}
二、创建repository
创建用于托管静态页面的github仓库
1. Repositories -> New
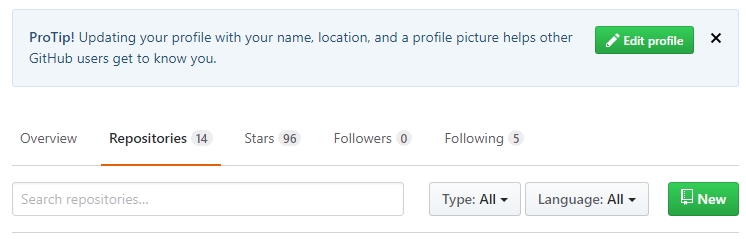
new repository
2. 设置repository name 这个名字一定是自己注册的时候用的名字开头,也就是上面看到的#{your github name}再拼上.github.io
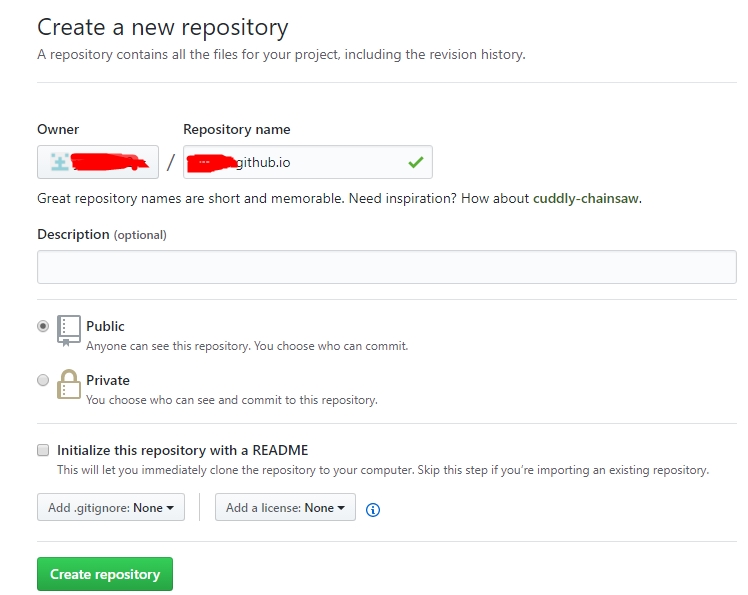
create a new repository
3. 选择主题
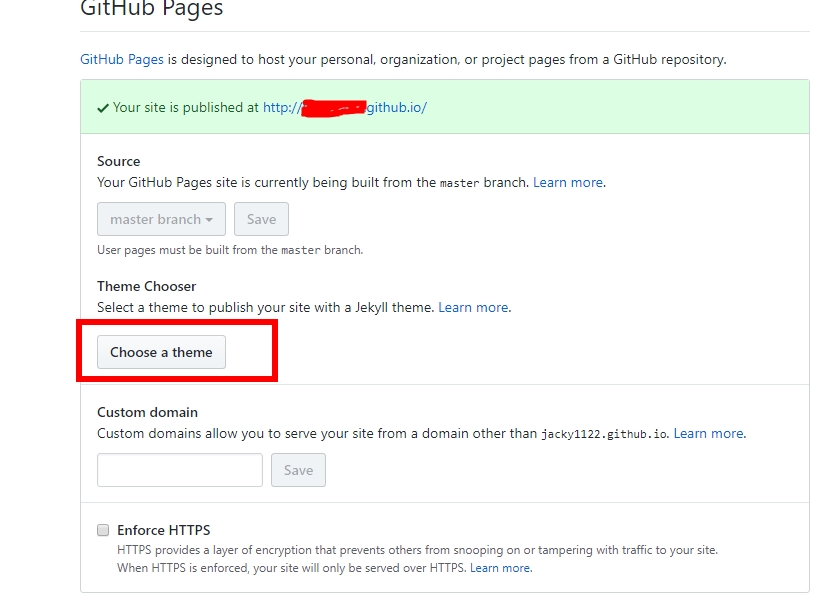
choose one theme
4. 设置theme
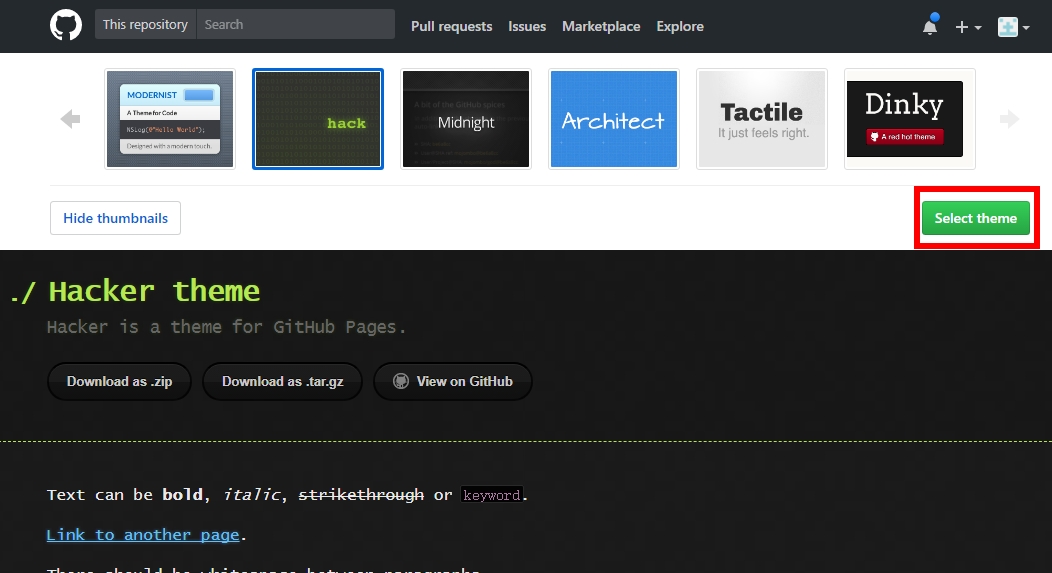
select theme
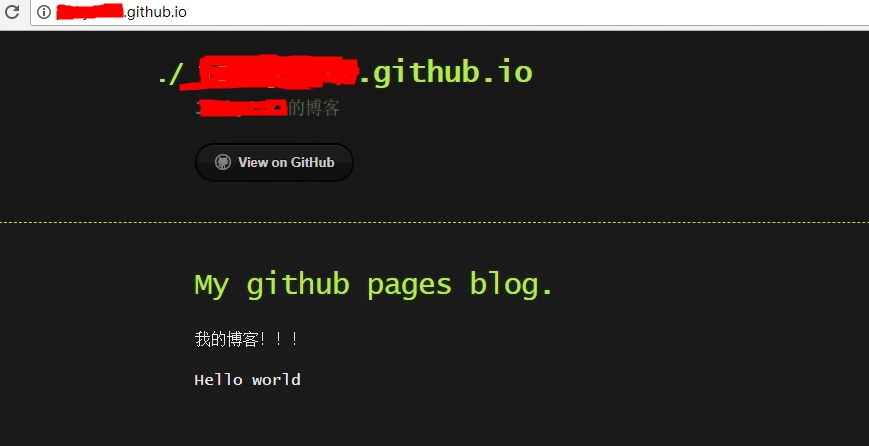
5. OK, 可以用http://#{your github name}.github.io/ 看你的blog了
6. 添加index.md, 在文件里写上
    # My github pages blog.
    我的博客!!!

    Hello world
刷新下 http://#{your github name}.github.io/ 就可以看到页面更新了
githubname github io blog index
三、设置ssh
为了方便后续将blog clone到本地,修改后push不用每次都敲用户名密码,所以配下ssh
1. 下载git 客户端, 一路next默认安装就可以了。git client下载地址
2. 安装完git后, 然后右键git bash here
$ ssh-keygen -t rsa -C "你的邮箱"
三次回车后,生成id_rsa和id_rsa.pub文件
$ cd ~/.ssh
$ ls -l
$ cat id_rsa.pub
3. 将id_rsa.pub里的内容复制贴到key中,确认ok
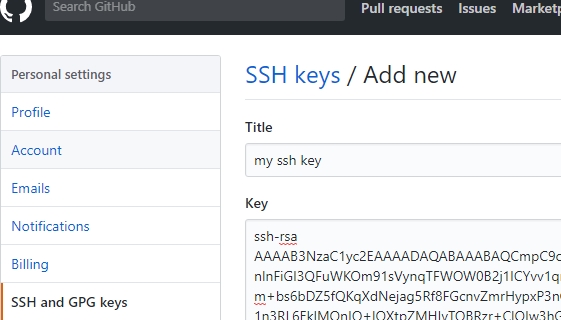
add ssh key
4. 然后将刚刚设置的key和本地绑定(中间输入yes)

bind ssh key
5. 然后将邮箱和用户名添加到global config, 以便后续提交代码的时候,可以识别到是谁在操作
$ git config --global user.email "你的邮箱"
$ git config --global user.name "你的github名"
6. 最后可以试一下git操作了
先clone blog的repository到本地, 然后随便加句话"Let's GO!!!", 再push到github上去。
$ git clone git@github.com:${you github name}/${you github name}.github.io.git
$ cd ${you github name}.github.io/
$ vi index.md
$ git add *
$ git commit -m "modify index.md"
$ git push
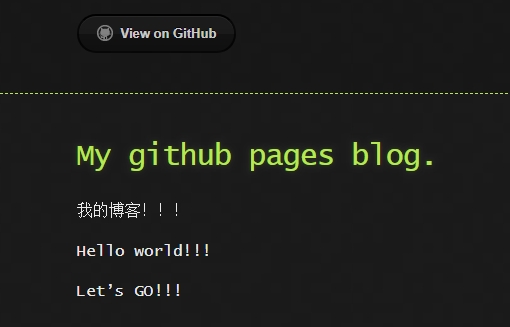
lets go
ok, 到这里结束了!!!
