将字体放在 assets 目录下
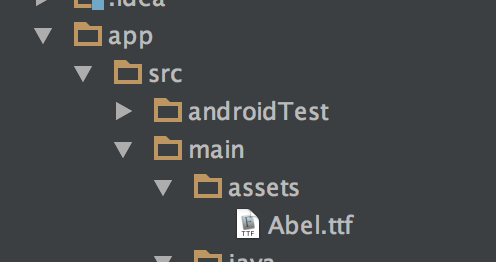
字体存放位置
创建自定义View 继承自 TextView
public class CustomTextView extends TextView {

    public CustomTextView(Context context) {
        this(context, null);
    }

    public CustomTextView(Context context, AttributeSet attrs) {
        this(context, attrs, 0);
    }

    public CustomTextView(Context context, AttributeSet attrs, int defStyleAttr) {
        super(context, attrs, defStyleAttr);
        init(context, attrs);
    }

    private void init(Context context, AttributeSet attrs) {
        TypedArray a = context.getTheme().obtainStyledAttributes(attrs,
                R.styleable.CustomTextView, 0, 0);

        String typefaceName = a.getString(R.styleable.CustomTextView_typeface);

        if (typefaceName != null && !typefaceName.equals("")) {
            setTypeface(Typeface.createFromAsset(context.getAssets(), typefaceName));
        }

        a.recycle();
    }
}
在 values 目录下创建 attrs.xml
<?xml version="1.0" encoding="utf-8"?>
<resources>
<declare-styleable name="CustomTextView">
    <attr name="typeface" format="string|reference"/>
</declare-styleable>
</resources>
在布局文件中使用这个自定义View
<(自已的目录).CustomTextView
        android:id="@+id/item_avenger_title"
        android:layout_width="match_parent"
        android:layout_height="match_parent"
        android:layout_gravity="center_vertical"
        android:paddingLeft="@dimen/spacing_huge"
        android:textColor="@color/white"
        android:textAllCaps="true"
        android:textSize="18sp"
        android:gravity="center_vertical"
        android:background="#33000000"
        tools:text="An amazing avenger"
        app:typeface="Abel.ttf"
        />
注意:字体设置是app,需要在xml中加入,扩展命名空间
xmlns:app="http://schemas.android.com/apk/res-auto"