一、安装 nodejs
从https://nodejs.org/en/download/下载nodejs, 安装一路下一步就ok
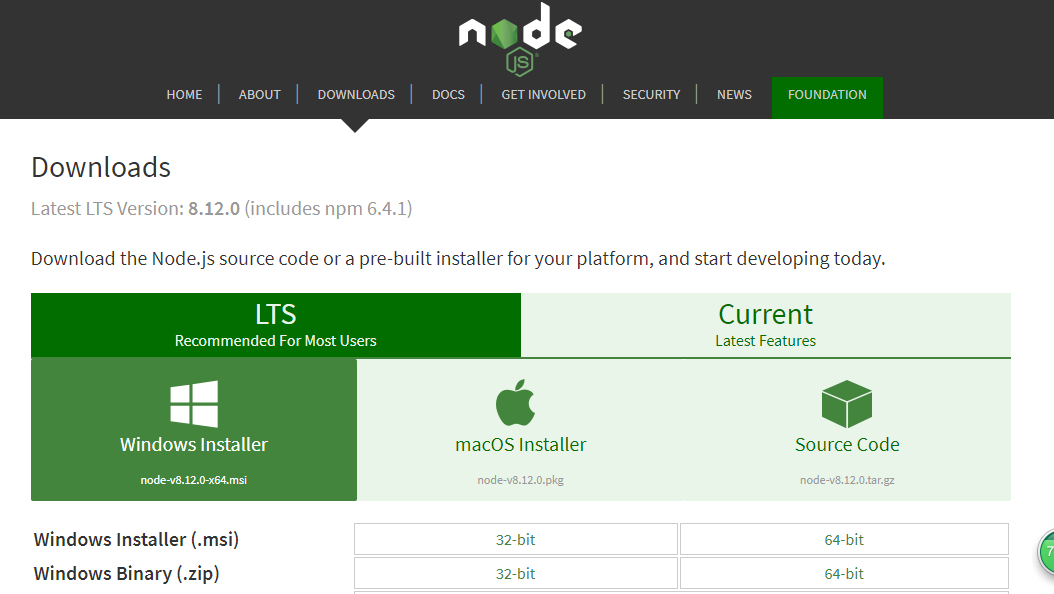
install-nodejs
二、安装hexo
安装完nodejs后, 用npm安装hexo。
$npm install -g hexo-cli
$hexo -v

install-hexo
三、用hexo初始化并生成blog
1、用hexo初始化并生成blog
$hexo init jack-demo
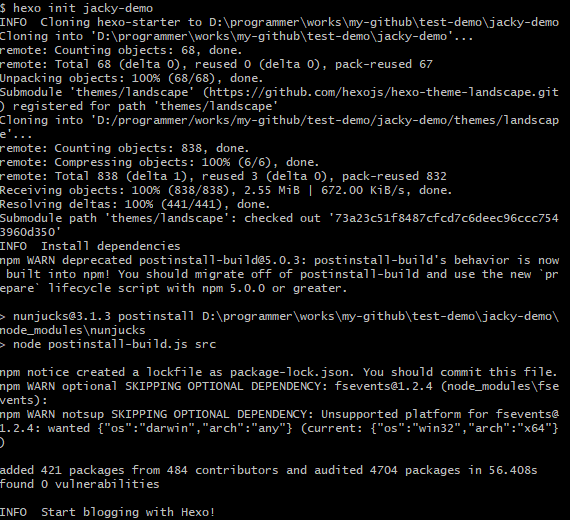
hexo-init-blog
2、安装依赖,然后用hexo generate, 也可以用缩写hexo g生成静态页面
$cd jacky-demo
$ls -l
$npm install
$hexo generate

install-hexo-deps
3、生成静态页面后,可以用hexo server启动服务器,并通过http://localhost:4000访问,默认主题比较丑。
$hexo server

hexo-server-blog
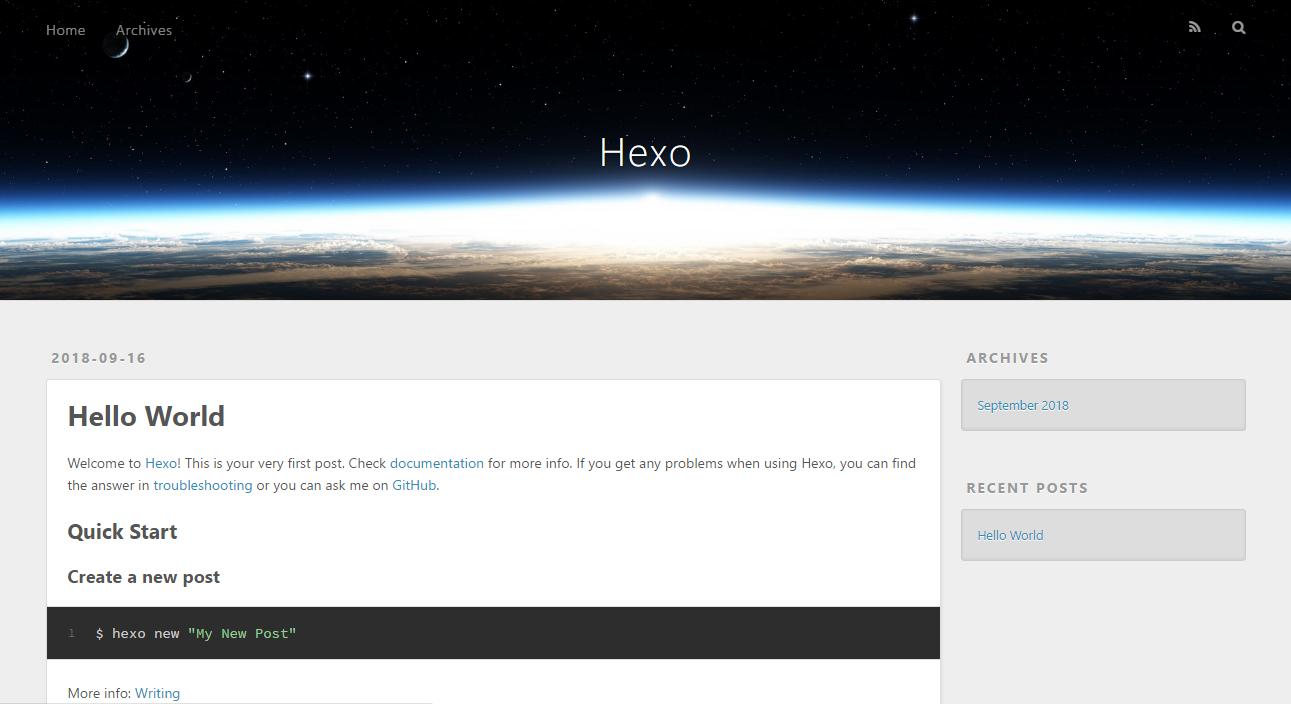
blog-index
四、更换主题成indigo
1、从github clone indigo主题, clone后,安装主题需要的依赖。
$git clone git@github.com:yscoder/hexo-theme-indigo.git themes/inidgo
$npm install hexo-renderer-less --save   #安装less,作为css的预处理工具
$npm install hexo-generator-feed --save #安装rss的feed生成工具
$npm install hexo-generator-json-content --save #用于生成静态站点数据,用于站内搜索的数据源
$npm install hexo-helper-qrcode --save #用于生成微信分享二维码
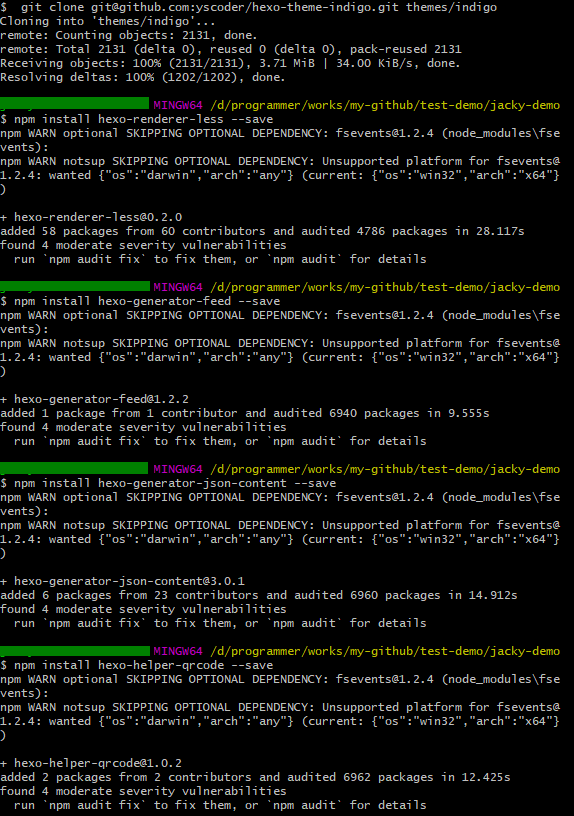
install-indigo-theme
2、开启标签页
$hexo new page tags

new-tags-page
编辑source/tags/index.md,增加layout和comments
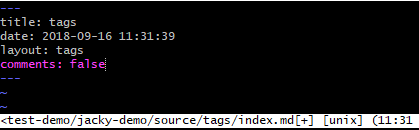
edit-tags-page
3、开启分类页
$hexo new page categories

new-categories-page
编辑source/categories/index.md,增加layout和comments
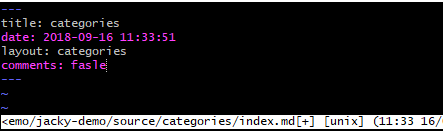
edit-categories-page
4、修改_config.yml,使用indigo主题
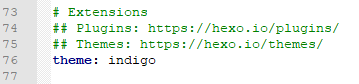
edit-config-yml
注意: _config.yml的author改成自己,indigo会用来显示昵称, themes/indigo/_config.yml里的email改成自己的email
5、重新生成静态页面并启动服务器(需要调试信息可以使用,hexo s --debug)
$hexo clean & hexo g & hexo s

clean-generate-server
6、效果如下:

indigo-theme-index
五、注册github并配置ssh
到https://github.com/ 注册账号,然后配置ssh登录。
1、配置git的登录信息
$git config --global user.name "你的git用户名"
$git config --global user.email "你的git登录邮箱"

github-ssh-config
2、生成ssh公私钥
$ssh-keygen -t rsa -C "你的git登录邮箱"
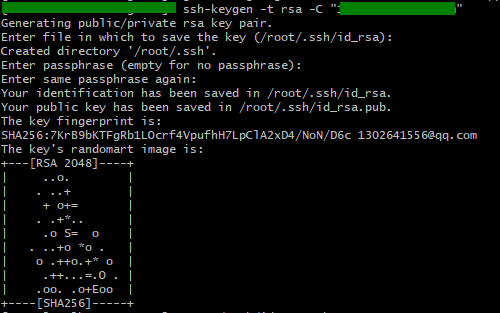
ssh-keygen-rsa
3、设置github的ssh key
将id_rsa.pub的内容拷贝到github的ssh key中

id_rsa_pub
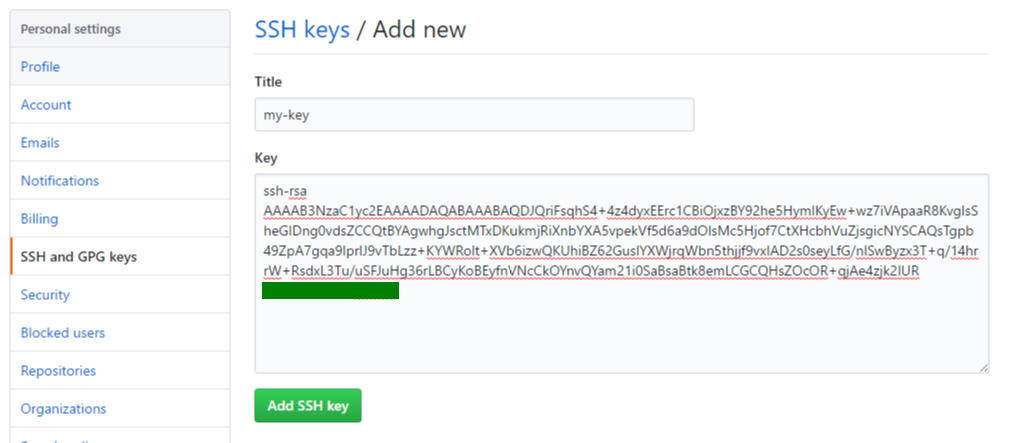
set-github-ssh-key
4、测试链接github设置的ssh key免登陆是否生效
$ssh -T git@github.com

test-key-connect-github
六、上传博客到github
1、新增git仓库
github上新建一个以注册的昵称开头的repository。 比如演示用的昵称是jacky-dmeo, repository的名称是jacky-demo.github.io 。
2、配置deploy的地址
type为git, repository配置为1新增的git仓库地址

edit-config-deploy
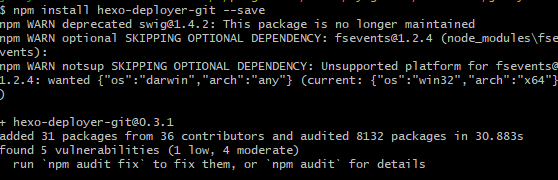
3、安装hexo deploy插件
$ npm install hexo-deployer-git --save
install-hexo-deployer-git
4、上传到github
$hexo deploy
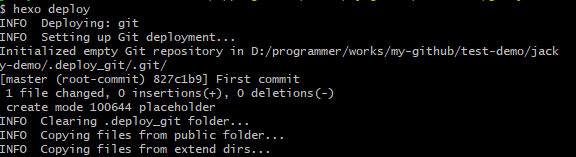
hexo-deploy-1

hexo-deploy-2
5、查看github的博客,看下效果
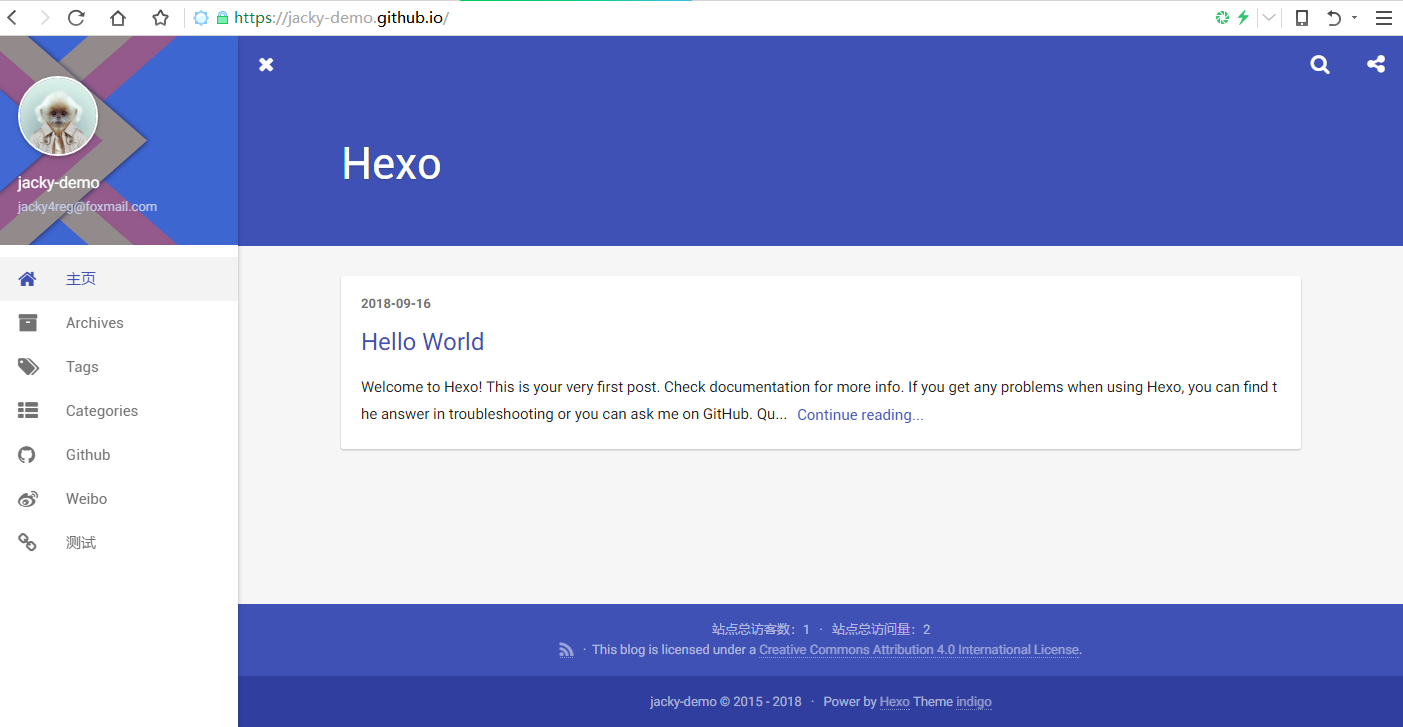
github-blog-index
