Table of Contents
<a id="1"></a>Introduction
GithubPages is now a easy way to build a website for you and your project. The code of your website is stored in the Github so it is convenient for you to edit and push your posts.
Jekyll is a tool for building GithubPages, which is also simple and easy to understand.
My blog, this website, is build using Jekll and GithubPages. You can get its original code from here.
Now let's strat building your own blog. The following guideline is in macOS environment.
<a id="2"></a>Method
<a id="21"></a>Step One
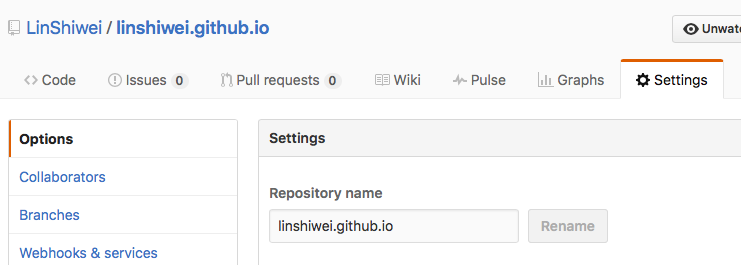
You should have an account in Github and create a new repository base on your github username. Here is the guideline in GithubPages website. The name of your repository maybe your-username.github.io. Make sure the name is correct. Then in the repository's setting page:
You can see:
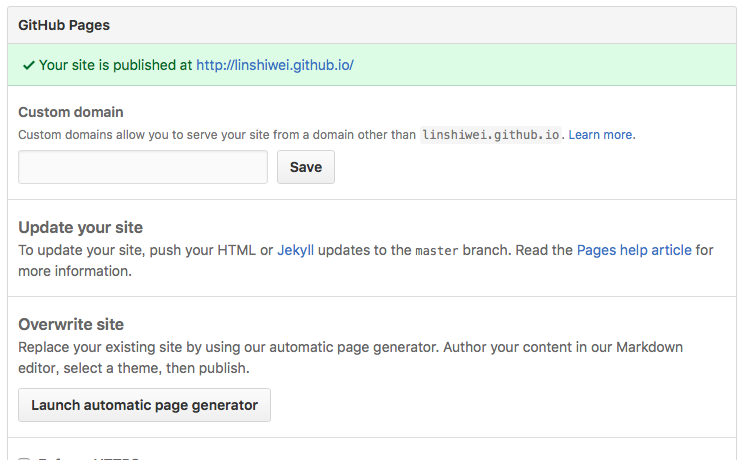
Here you can launch automatic page generator to generate your site quickly. But in this circumstance you don't need to, because we are going to build website using jekyll.
After creating the repository, your should clone it to your mac. I suggest your using Github Desktop to do it.
<a id="22"></a>Step Two
In Terminal, using the following code to install jekyll:
$ gem install jekyll
If your have enabled password in you mac. You may use this instead:
$ sudo gem install jekyll
<a id="23"></a>Step Three
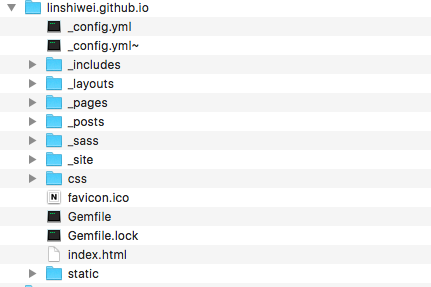
After installing jekyll, you can download some jekyll template from Jekyll Theme and choose the one your like most. And copy all the files in the folder to the repository folder your create in Step One:
Now run Terminal in your repository folder:
$ cd your repository folder
Run jekyll serve:
$ jekyll serve
In this step, due to the template your choose, you may need to install some other jekyll gems. Just follow the guide in terminal.
After jekyll serve successfully, a website will run in http://localhost:4000/ by default for developing.
<a id="24"></a>Step Four
Until now, the blog has been built. You can commit the change to master of your repository and visit your blog at url such as your-username.github.io.
But this is not the end, it's time to add things to your blog.
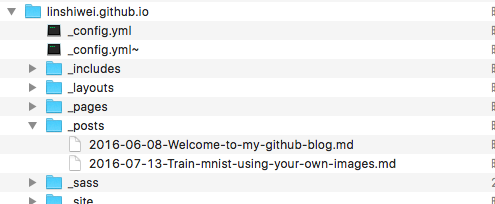
Basically, to add a post to your blog, you can write a post in Markdown grammar and put it in the _posts folder in your repository:
For more information about the files and folders in a jekyll template, you can read documents here.
<a id="3"></a>Ending
There are lots of things you can do with the jekyll template such as adding google analytics, disqus supporting and so on. We will discuss them in the future posts. Here we just talk about the base of building a blog. It's easy only if your have done it. Hope you enjoy it.
My Github:LinShiwei (Lin Shiwei) · GitHub
